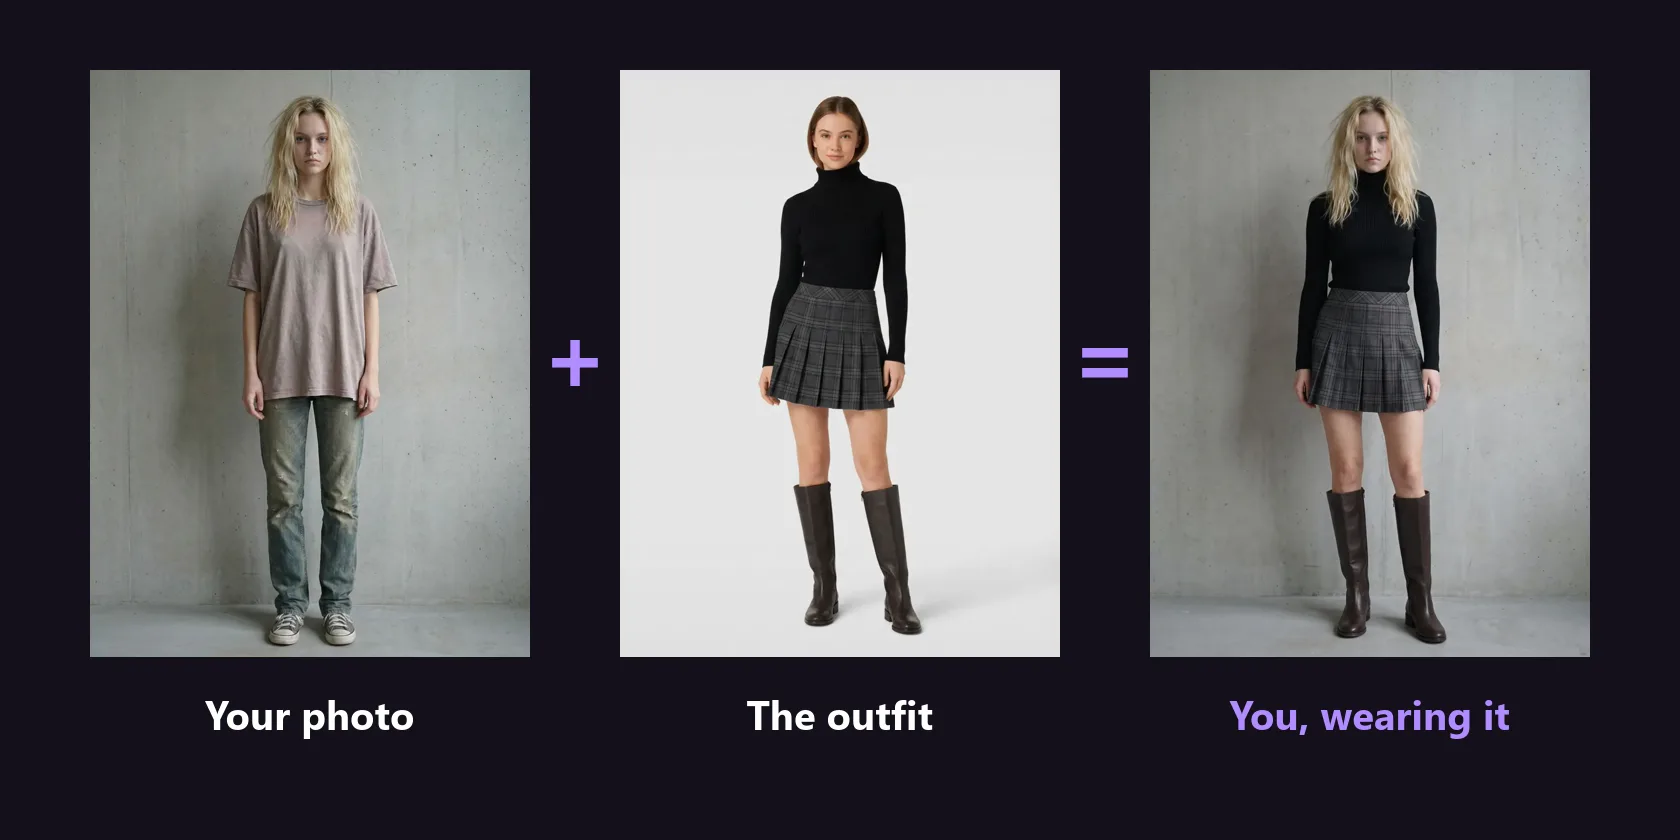
A practical guide to AI virtual try-on: the photo that gets the best results, how to add any outfit from any shop, how to see it move in a modelling video, and how to let your friends vote before you buy.
·6 min read
Online shopping skips the one room that matters: the fitting room. You see the clothes on a model,
picture them on yourself, guess, and order. Then the parcel arrives, it isn't you, and it goes back.
AI virtual try-on puts the fitting room back before you pay. You add one photo of yourself and one
picture of the clothes, and you see yourself wearing them. This guide covers how to get a result you
can actually trust, how to see the outfit move, and how to get your friends' verdict before you buy.
What virtual try-on is good for (and what it isn't)
Think of a try-on as a very convincing preview, not a tape measure. It's brilliant for the questions
a product photo can't answer:
Is the colour right for me? A shade that glows on a model can wash you out.
Where does it sit? Cropped or long, fitted or oversized, and how that works with your proportions.
Does it go with what I own? Judge the whole outfit, not one piece on a hanger.
Keep it or skip it? Make the call before you order, not after the parcel arrives.
What it can't tell you is exact fit or how the fabric feels. Always check the retailer's size guide
before you buy.
Step 1: Take the right photo of yourself
The photo you start with matters more than anything else. A dark or blurry photo is the most common
reason a try-on disappoints, and a good one makes every try-on after it better.
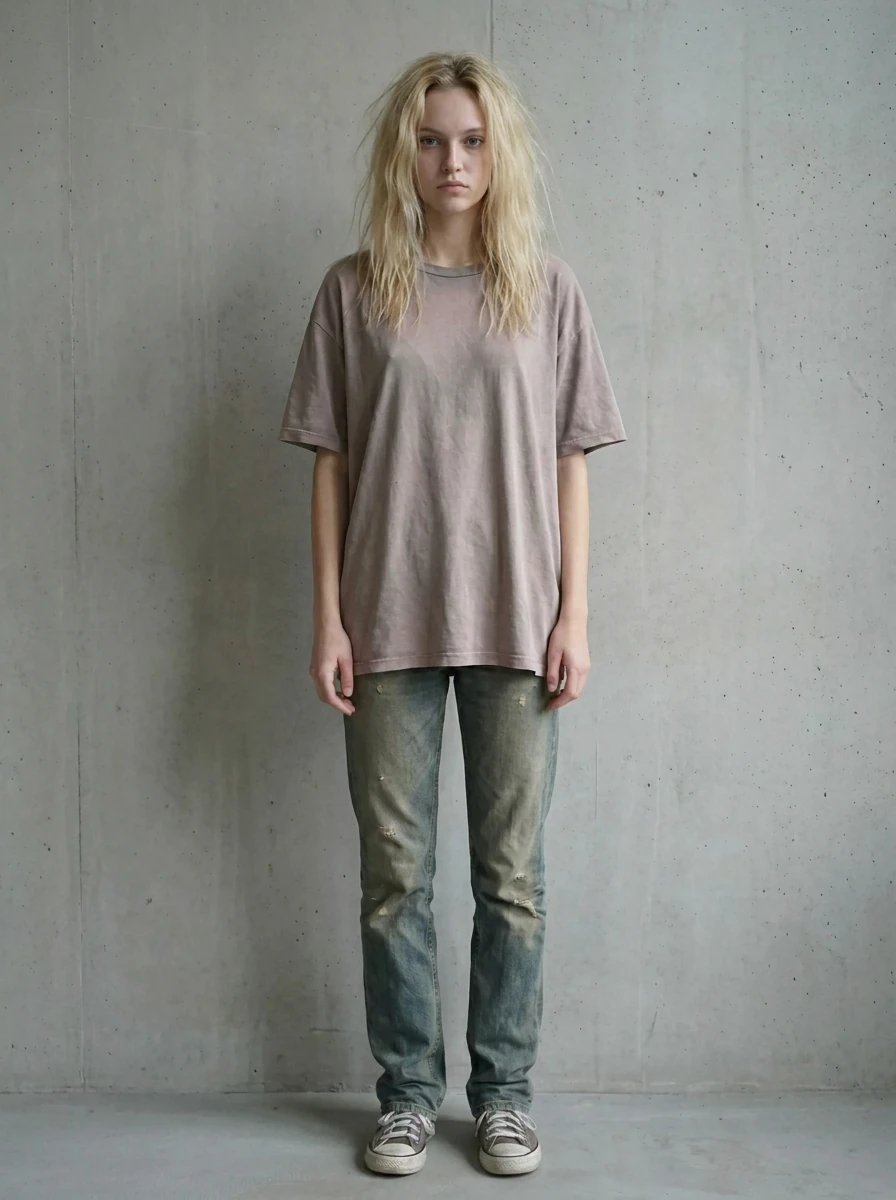
For outfits, take a body shot:
Head to feet, facing the camera, standing naturally.
Good, even light. Daylight from a window in front of you is ideal; avoid strong light behind you.
A simple background. A plain wall or a tidy hallway works far better than a busy room.
You in focus and filling the frame, not small and far away.
Your photo: head to feet, plain wall, even light.
A hallway mirror photo is perfect. Take it once and you can reuse it for every outfit after.
For hair and makeup, take a head shot: your face front-on, filling a good part of the frame, with
your hair visible rather than under a hat.
No photo handy yet? Every studio has sample people built in, so you can try the whole thing first
and add your own photo when you're ready. JPG, PNG, WebP and iPhone HEIC photos all upload fine.
Step 2: Find the outfit (see it, screenshot it, share it)
You don't need a special shop, a partner brand or a product link. If you can see the outfit, you can
try it on:
a shop's product photo
a screenshot from your feed
a resale listing
a photo a friend sent you
The simplest rule works everywhere: see it, screenshot it, share it. Screenshot the outfit
wherever you spotted it, then add that screenshot as your outfit. On a computer, take the screenshot
to your clipboard (Windows + Shift + S on Windows, Cmd + Ctrl + Shift + 4 on a Mac) and paste it
straight into the studio with Ctrl + V or Cmd + V.
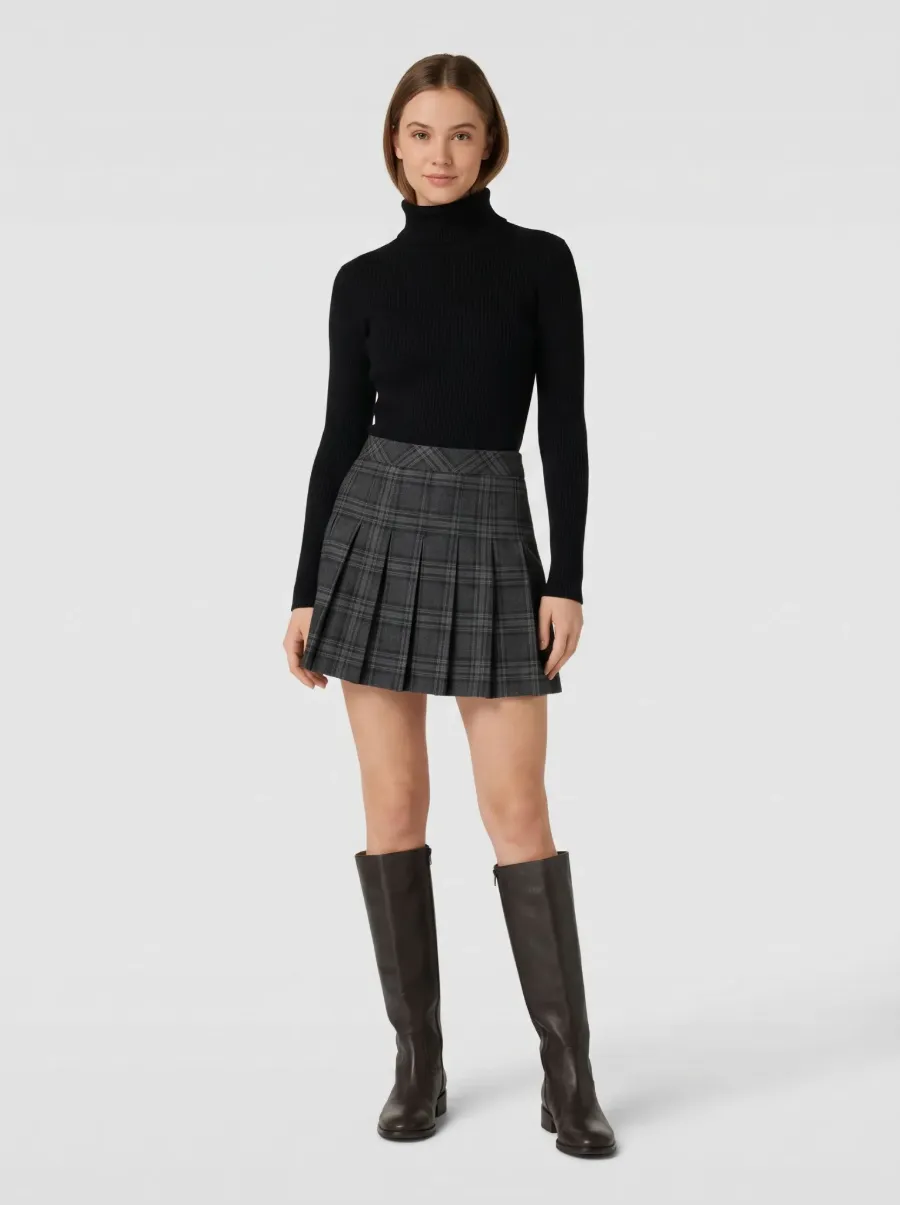
For the best result, pick an outfit image where:
the whole garment is visible, not cropped off at the hem or the sleeves
it is clearly the main thing in the picture
it isn't hidden behind text, stickers or a "sold out" banner
The outfit: a shop product photo on a plain background.
A product photo on a plain background, like this one, is the easiest of all. A busy street-style
photo still works; it just gives the AI more to sort through.
Step 3: Try it on, and judge it like a fitting room
Add your photo and the outfit, then try it on. The cost in credits is shown on the button before you
tap it, so there are no surprise charges, and if a try-on fails, the credits come back to you
automatically.
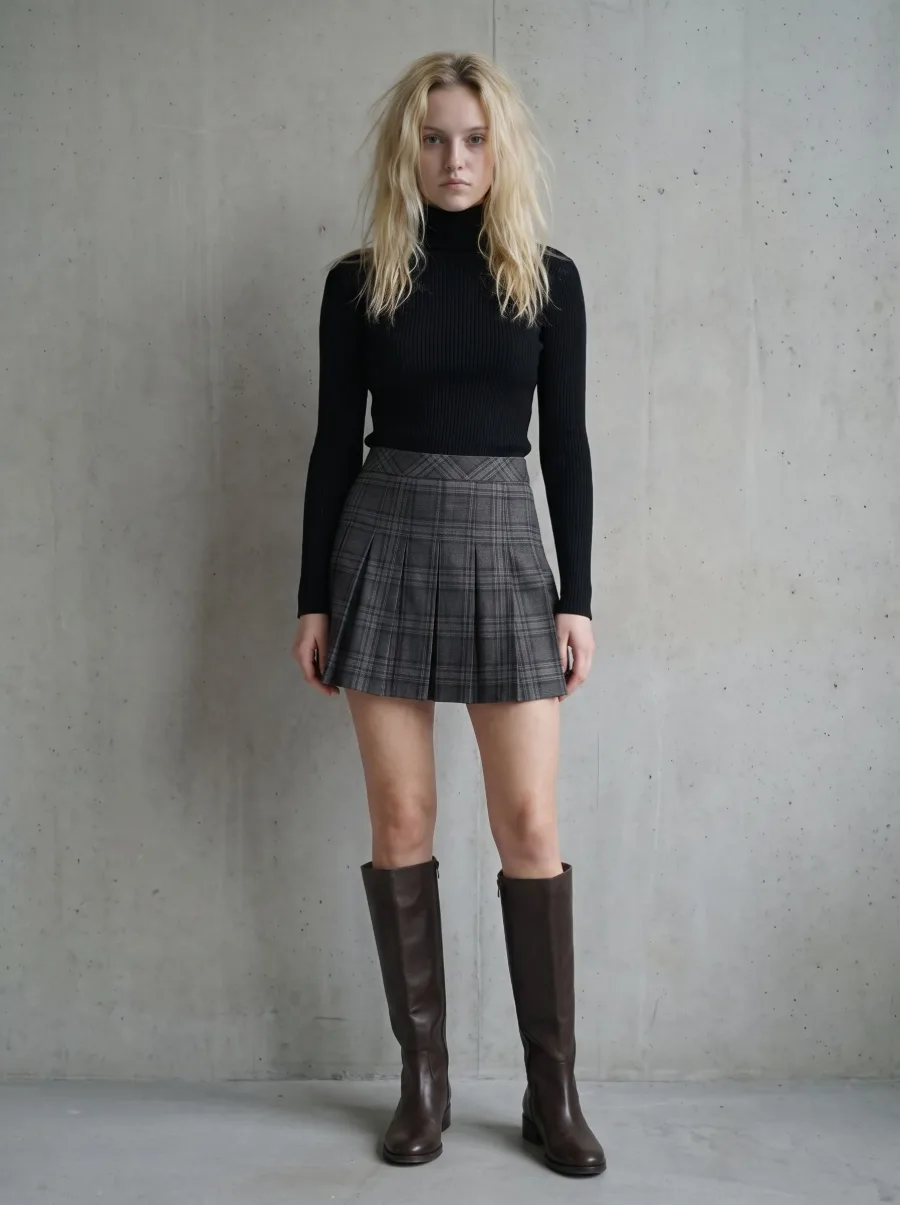
The result: same person, same wall, new outfit.
Now look at it the way you would in a mirror:
Colour: does it light up your face, or drain it?
Length and shape: where does the hem land, and does the shape work with your proportions?
The whole outfit: would you wear it with the shoes, jeans or jacket you already own?
Keep the try-ons you love and discard the rest. Your photo stays ready for the next outfit.
Step 4: See it move with a modelling video
A photo tells you whether an outfit works. A video tells you how it moves: how a skirt swings, how a
jacket sits when you turn, whether it still looks right from the side.
Open any try-on you've kept and tap Videos. Pick a video style and tap Create video. When
it's ready you have a short clip of yourself posing in that exact outfit, like this one made from the
try-on above:
A modelling video made from the try-on above.
A few things worth knowing:
The cost in credits is on the button before you tap it, and you can cancel a video while it's
being made for a full refund.
You can make several videos of the same try-on in different styles, then keep your favourite.
Videos are private like everything else, and each one has an Include in shares switch for
when you want friends to see it too.
Step 5: Share it, or let your friends vote
Your photos, try-ons and videos are private by default. Nobody sees them unless you choose to share.
When you want a second opinion, you have two ways to ask.
Share a link. Select one or more try-ons in your History and tap Share. You get a link (and a
QR code to open it on your phone) that anyone you send it to can open, no account needed. You can see
all your links under Shares and stop sharing any of them at any time.
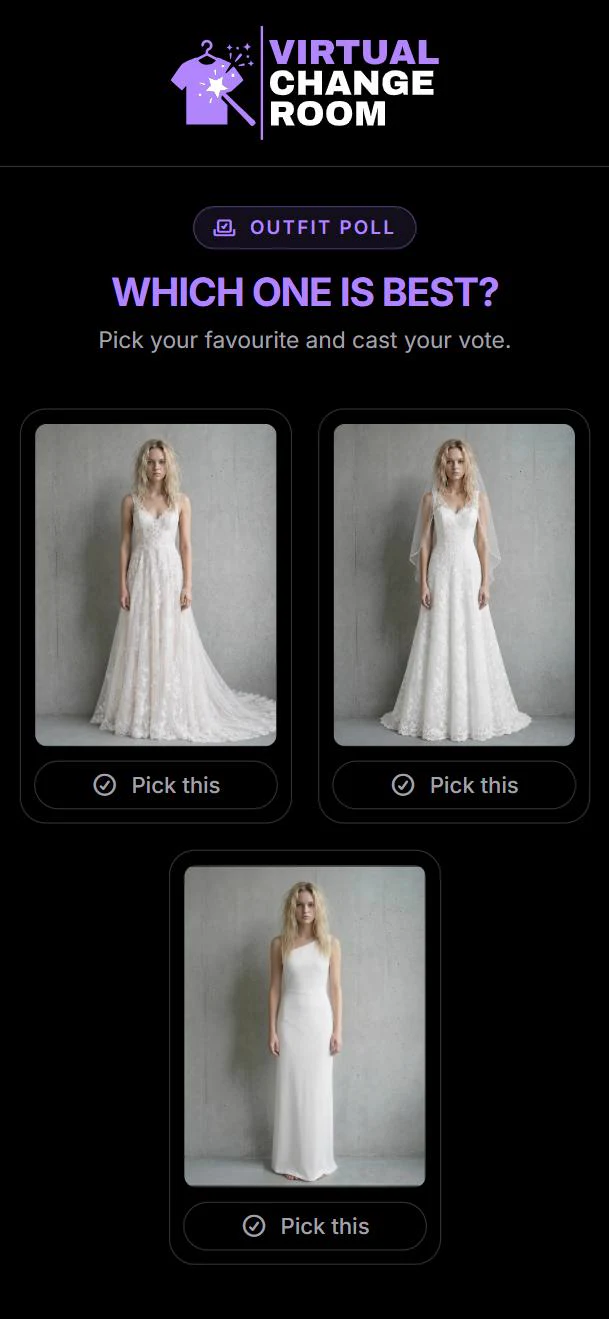
Run a poll. On the same share, switch on Let friends vote and it becomes a style poll. Your
friends see each try-on side by side, tap Pick this on their favourite, and you watch the votes
come in. Here's what they see for a three-dress poll:
What your friends see when you share a poll.
Some ways people use it:
"Which wedding dress?" Three dresses on you, one link to the group chat, and a clear winner by
the evening.
"Date night: the green or the black?" A two-option poll gets an answer in minutes.
"Is this worth the money?" Share a single try-on with the friend whose taste you trust.
"New season wardrobe" Share a gallery of everything you're considering, with the videos
included, so they see how it moves too.
Sharing and polls are for account holders aged 18 and over.
Try hair and makeup too
The same idea works above the neckline. Add a head shot, then pick a hairstyle and colour, or a
makeup look, from the gallery. There's no reference photo to hunt down, because the styles are
already there. Hair and makeup are in beta, so results vary more than outfits, and they use the same
credits as everything else.
Quick checklist
Body shot: head to feet, facing the camera, good light, plain background.
Outfit image: whole garment visible, clearly the main subject.
Judge colour, length and the whole outfit; check the size guide for fit.
Make a modelling video to see how it moves.
Not sure? Share it, or run a poll and let your friends decide.
See it, screenshot it, share it, and see it on you before you buy it.